

 I love giving these because every baby needs a burp cloth and it is so handy to have a burp cloth with your baby's name or initials on it to send with your baby to church nursery, daycare, or wherever there are a lot of other babies. They are also very easy and fast to make. All you do is find fun ribbon and use the baby's initials and you have a great gift that is completely functional! Write the baby's initials on the burp cloth with a washable fabric marker and sew over it with a zigzag stitch. The marker will come out with some water.
 If you do not know the baby's initials (and please don't give the mom a hard time if she does not share it!), just monogram the last name like here
 or the first initial of the last name like this one for my friend whose last name is Gainor.
 This double-sided burp cloth is a little bit more challenging because the ribbon wraps completely around the burp cloth so you need to make sure your stitching on one side of the ribbon lines up just right with the other side of the ribbon (aka you need to make sure your straight stitch on one side catches the other side).
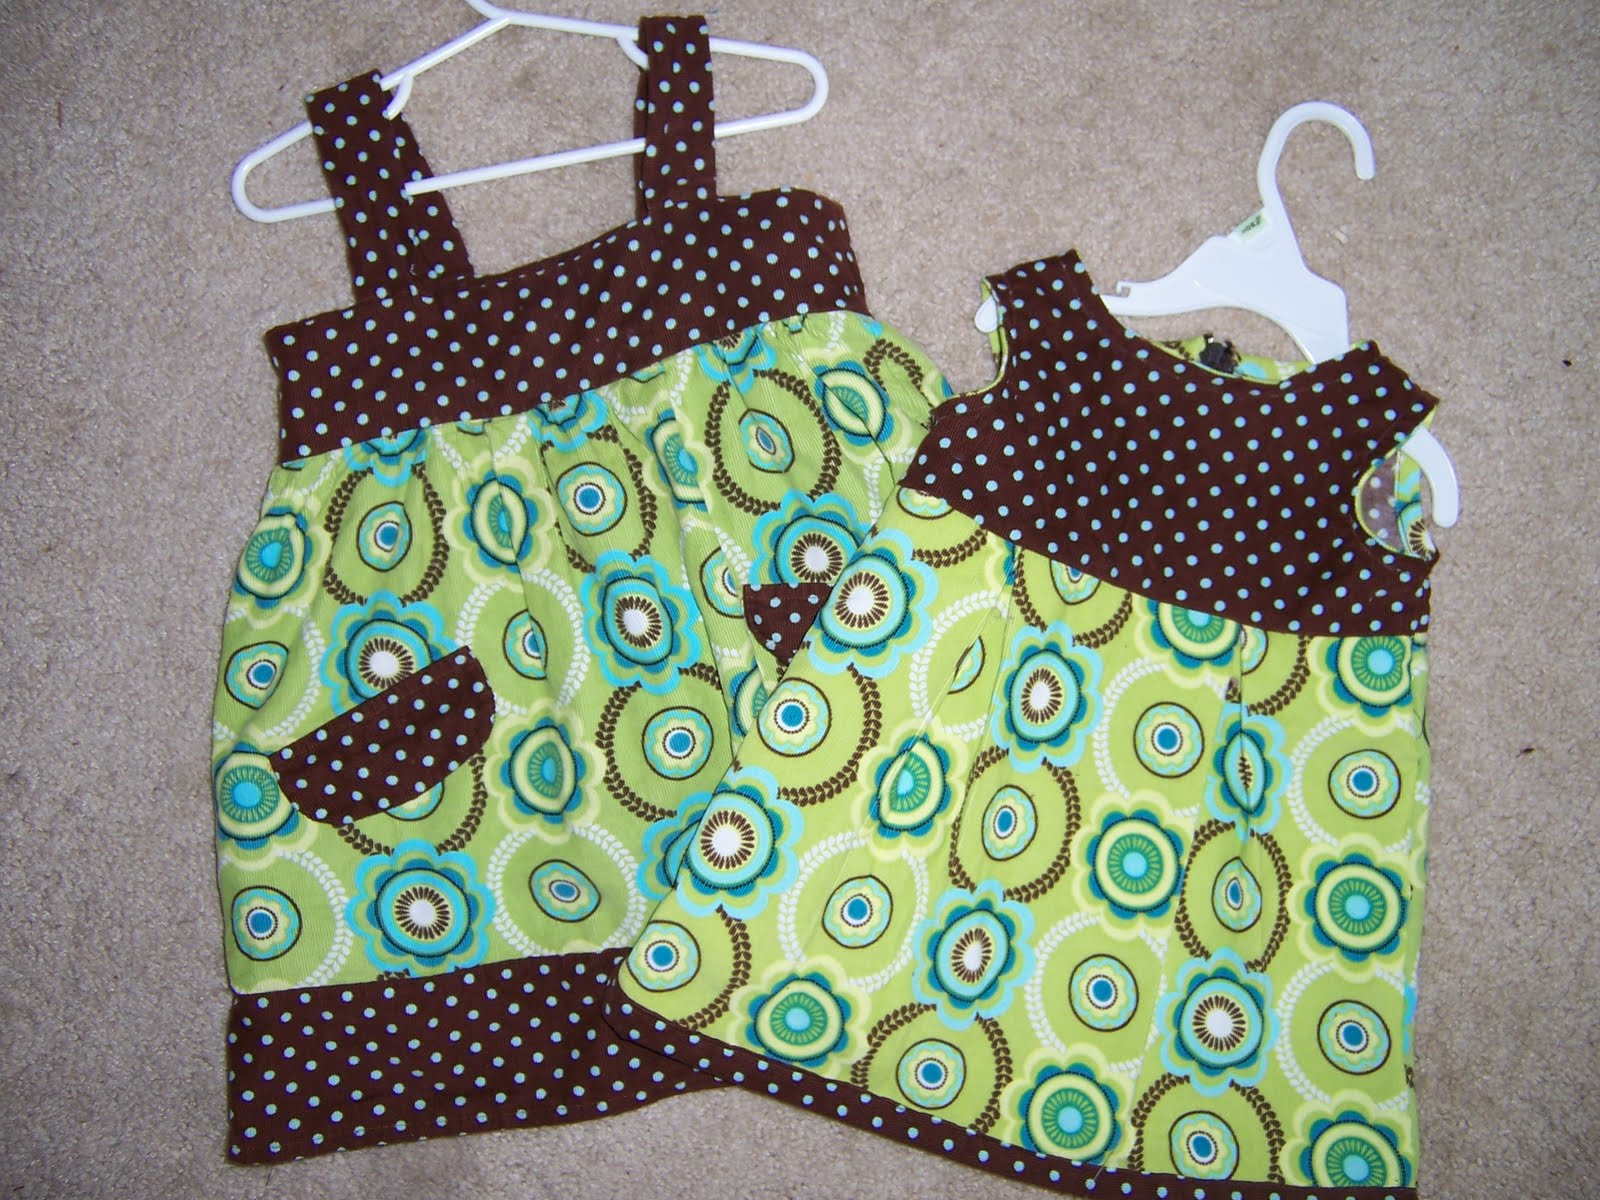
 This is the second time I used this Butterick dress pattern for Grace. The first time was her Valentine's Day dress. It is such a simple pattern!! This time I used the dress fabric for the bias tape on the armholes and neckline instead of buying bias tape. I think the accent is really great!!!


 Grace is getting big enough now where she can actually fill out a dress and it doesn't look silly.
 I used this Butterick pattern which I have fallen in love with because the dress and underwear patterns are so simple! Butterick does a great job rating their patterns according to difficulty and I really appreciate that because sometimes you just need to start simple and sometimes you feel frisky and want to try something advanced. It's nice that the ratings help you focus on the type of project you want to accomplish.
 The only time-consuming part of the whole dress and underwear was using the bias tape on the neck and armpits. I would highly recommend this pattern if you are looking for a great baby dress. I love the pleats!!
 I used a bib that we had that was nice and big as my pattern. For the material, we have these red towels that we barely use so I used them since the red would look great for Christmas and the terry cloth is perfect for bibs. I cut out two pieces for each bib so that it would have two layers for durability and also because I planned on appliqueing on the top layer (and the second layer would hide the stitching on the underside of the top layer).


 For Roxanne's, I thought about putting her 3 initials or just an "R" on it but since these aprons were meant for mommy-daughter cooking times and all daughters know their mom as "Mom", I changed my mind as appliqued "Mom" on hers with a cute yellow butterfly fabric and green thread. The pockets and ties are made out of the same fabric the applique fabric.
 Haley's apron was so much fun, too! She prefers green, so the pocket, trim, and ties are in a cute green.


 Here are the details on Owyn's dress and here are the details on Isabelle's dress.
 I have already posted about Isabelle's dress here.
 Grace's dress was a little more difficult but it was still fun. I used Simplicity 2392 Babies' Vintage Layette pattern. I picked and chose different parts of each of the dresses shown in the pattern so it took me a little while to figure out what I needed to cut out for the pattern. While sewing the dress, I had a really hard time following some of the directions so I just winged it for some parts. Despite the issues with the pattern, I think it came out really well.
 I really wanted to sew Judah something for this special birthday. It is harder to sew things for boys because cute fabric and good patterns are harder to find for boys. What to do?
 I have added something new to my projects... labels!
