Thursday, August 25, 2011

Tractor mania

A friend named Julie asked me to make her daughter a festive tractor dress for a special trip that she and her family are taking to Kentucky to see family. She gave me really fun John Deere fabric and a solid green fabric that would make a great accent. Hmmmm.... what to do? I looked and looked online for inspiration and came up with nothing. So I decided to look through my patterns and see if anything jumped out at me.

I found this McCalls 5918 pattern
and got inspired! I have made it a couple of times before and thought it produced cute garments. The John Deere fabric made a great main/dominant fabric and the green really complimented it well - don't you think?
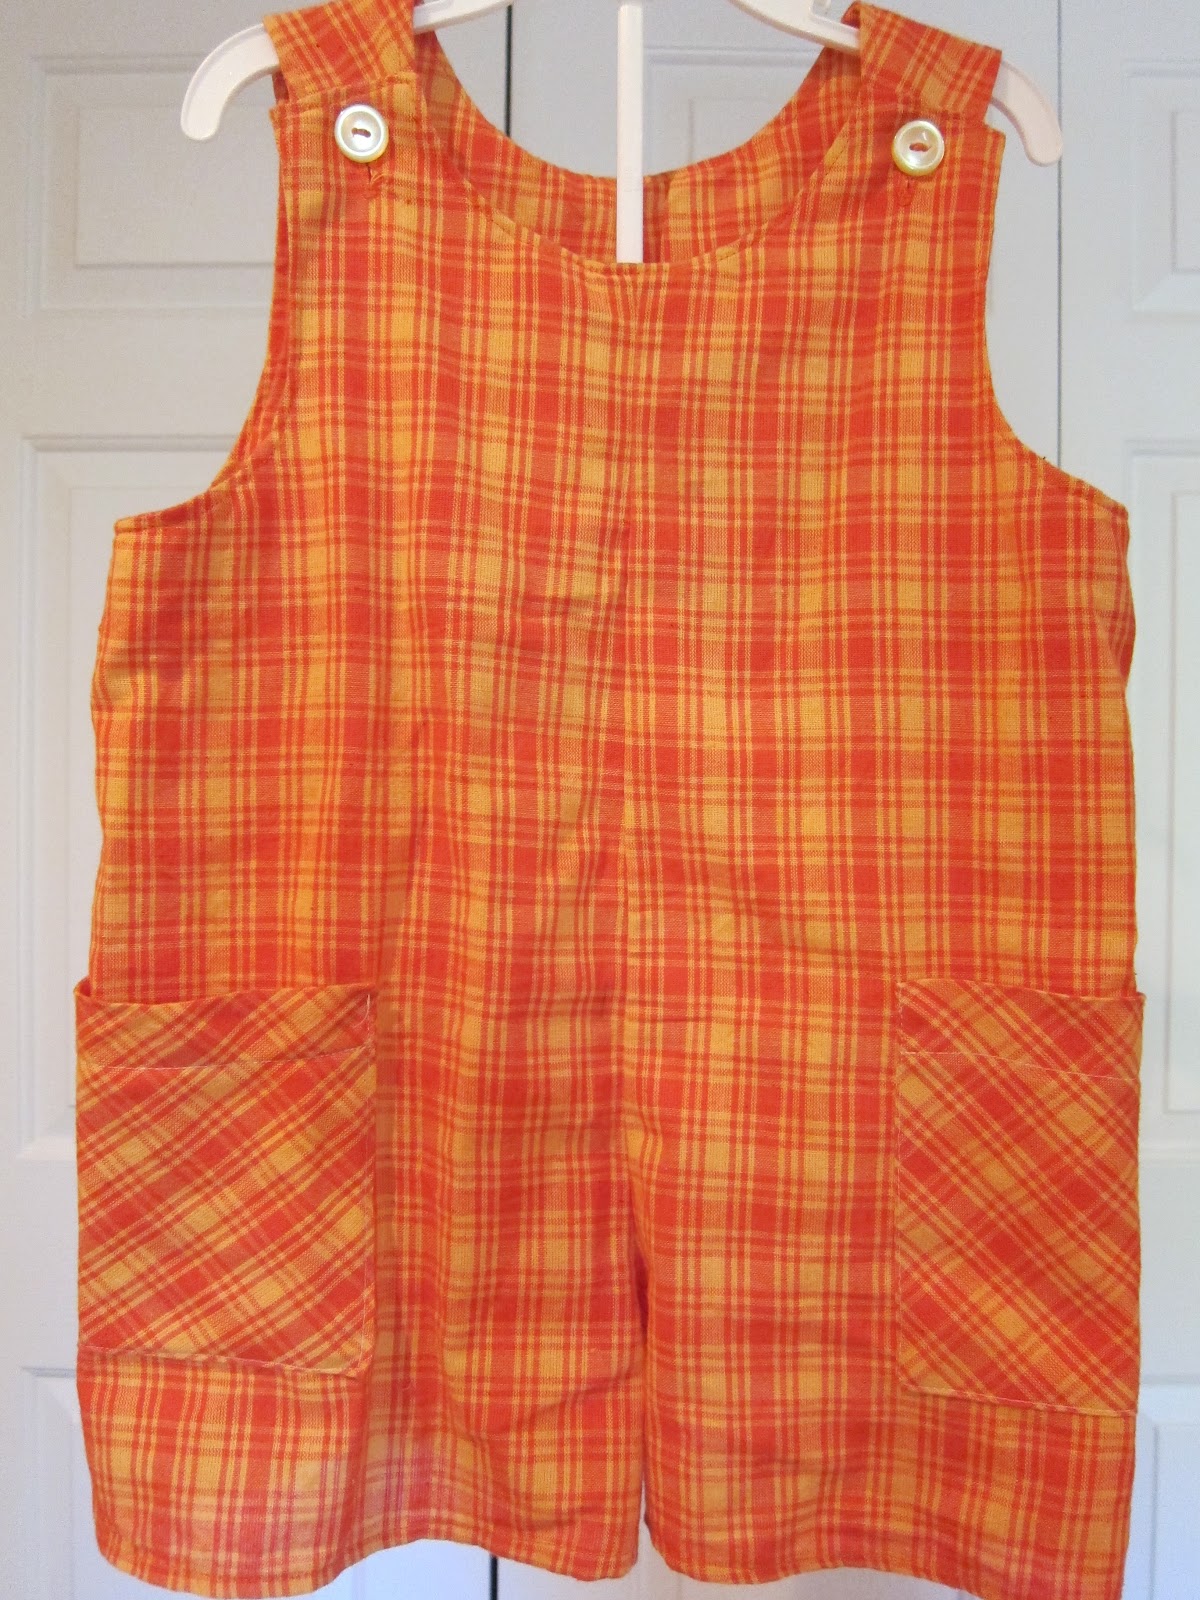
Front

Back

The only thing that I would change for next time is the ribbon. I wish I had some white ribbon with green polka dots on it to match the green accent fabric. I did not want to go out and buy more ribbon since I have oodles already and I knew I could find one that worked. A really cute idea that I got from my friend Carly is to make button holes to weave the ribbon through so it does not ride up. How cute and practical??

Saturday, August 20, 2011

Isabelle's room

My 3 year old daughter loves cupcakes so much and I have been wanting to incorporate them into her bedroom decorations somehow for a while now. I saw this adorable McCall's pattern and got inspired!
What is so fun about this pattern is that you can use up A LOT of fabric scraps that you have. I tweaked the pattern quite a bit to simplify it but the basic idea is still the same.


Tuesday, July 12, 2011

A long time favorite romper pattern

I have used this McCalls 6304 pattern for a long time. It used to be McCalls 2033.
It is a great romper pattern! It is very easy to make! Some comments I would make about this patter are:
  • when you cut the lining pieces for the top, do not use the tissue paper pattern to do it. Use the fabric pieces that you have already cut for the main parts of the garment. This way, you make sure that the lining shape matches the garment shape and it will be easy to match them up when sewing.
  • Use fusible interfacing!!! Don't mess with having to use sew-in interfacing (Ugh!!).
  • When when cutting the lining pieces, don't cut a curved bottom. Just cut a straight line across. This will make finishing the bottom edge of the lining easier.
Here are the rompers I have made over time with this great pattern.
Shorties
Easter shortie in orange linen
Fun spring/Easter shortie
Fun Steelers shortie
Classic navy gingham shortie (no pockets)
Orange seersucker shortie
Longalls
Christmas corduroy longall
Feeling fishy in this flannel longall
Cheering on Big Blue in flannel longall
Sailing away in nautical flannel
Train flannel

Happy 4th of July!!!

I have found these patterns that I am crazy about because they are incredibly fast to cut out (woo-hoo!), really fast to sew (woo-hoo!), and has a lot of cool variations.
These two patterns have the same general concept with subtle differences.

McCalls 6303
I like the side ties and pockets in this pattern.
Butterick 5625
I like the diaper cover included in this pattern.What is really fun about Grace's outfits is that the top is reversible! Check it out!
The pattern is INCREDIBLY easy to make reversible. The only thing that is tricky is how you do the shoulders. If you make the outfit continuous (a little tricky to figure out but it is possible if you take some time and have some patience), you don't need to worry about the shoulders. If you use a ribbon or tie for the shoulders, it is very easy to make the outfit reversible because the ribbons or ties close at the top of the shoulder and it does not matter which side of the garment is out. If you use buttons, you just have to put buttons on both sides of the front piece (or whichever side you attach the buttons).

Isabelle's outfit is made from the same pattern. It is not reversible because I did not have enough of the white and star fabric to do so. I love the appliqued star on their outfits!

Wednesday, June 29, 2011

Why it all started


These outfits are from Chez Ami. I wanted to post this picture as a reminder as to why I started making matching outfits.

Happy 3rd Birthday, Isabelle!

My sweet baby (not so baby anymore!) turned three in June and I wanted to make her a really special dress. I wanted to do something that was fun and had a lot of colors in it.

I found this McCalls pattern and it just sung to me in the store. Isn't it cute???

I asked Isabelle what she wanted to have on her birthday and all she would say is CUPCAKES. I found some cute cupcake/birthday fabric at JoAnns for the main fabric and used fabric I already had for the straps, trunk, belt, and hem.

I embroidered a "3" on the trunk because I knew Isabelle would love it. I am not thrilled with how the 3 turned out but it works!

The back was a bit of a challenge. Threading the 7 strips elastic through the casings was time consuming but definitely worth the effort. Next time, I will use a bigger safety pin to thread the elastic through the casing. This pinched look has given me a desire to learn how to smock. The look is just so adorable especially when you have a large print in regular intervals like polka dots on the fabric.
The only quirks about this pattern are:
  • the belt rides up since it is not attached. I might scrap it the next time I make it or maybe I will attach it somehow.
  • the button hole guide placed the buttonholes waaaaaaay to wide for Isabelle. Of course, I did not try the dress on Isabelle before making the button holes (a danger of sewing late at night and not focusing on details!). When I put the finished dress on her, the straps were cutting into her armpits so I wound up making new button holes. You can't really see the old holes when she is wearing the dress because her arms cover them but I can tell! Note to self - wait and try the dress on before you attach the straps or make button holes!
Check out info on this other adorable dress that uses 2 of the same fabrics as the birthday dress!


Monday, May 9, 2011

Photo Pillow

I wanted to do something special for my stepmom and I found the perfect idea - a photo pillow!! This is the process I went through...
  1. I bought a square pillow from JoAnns. If you are making one for yourself, you can just use a pillow you already have. For some reason, I seem to have random little pillows lying around that I can use if I make one for myself.
  2. I bought 4 fabrics that I thought would go well in her house (2 for the front of the pillow and 2 for the back). I only got a 1/4 yard of each which was more than enough.
  3. I found 2 pictures to put on the pillow (1 on the front and one on the back) and printed them on fabric paper that goes in the printer. The fabric paper can be expensive so stock up when it is on sale if you want to do a lot of gifts like this.
  4. I had an idea of what I wanted the pillow to look like so I drew out different possible combinations and finally figured out how much fabric to cut for each side. I used extra fabric to make sure I had enough for my 14x14" pillow. The tricky part was having one picture that was 6x6" and the other picture was 5x7". This meant that I had to figure out different panel sizes for each side which was not that big of a deal but added a bit more time. I realize that my math skills need some honing!
  5. I sewed all of the fabric pieces together. The last piece was a little tricky to make come together smoothly but I did not sweat it too much. I then cut the extra fabric off and made sure the front and back measured 14.5x14.5" to account for seam allowances. Don't get too crazy here... after all, it is just a pillow and you can just pull a little tighter or squash the pillow down if it is not perfect.
  6. I sewed the front to the back on 3 sides and used a cool trim on the sides. I had actually planned on using the trim all the way around but did not have enough.
  7. I really had a hard time figuring out how to close off the 4th side. I was too lazy to whipstitch it so I thought a zipper would be easy and functional since we could give my stepmom new covers for the pillow in the future. Well, I don't know what I did wrong but the zipper gave me a huge fit! I don't know if it was a problem because I was trying to fit it in between two closed off ends or what, but I am definitely reading up more on pillows before I do my next one. In the end, it came out really cute and my stepmom loved it.

Sunday, May 8, 2011

Crabby pants

Yes, redheads can be a bit crabby at times but that is not what I am talking about here. :) I found this fun fabric at the Chez Ami warehouse here in town and fell in love with it. We are going to have a lot of fun with these shorts this summer!
The shorts were made from a McCall's pattern that was tagged "Easy" and the pattern really was easy! If you are looking for a good pattern to try out sewing shorts/pants for the first time, this is it! Stay tuned for matching dresses in the same fabric for Gabe's sisters!!!
The only thing that really confused me is that I figured out you need to top-stitch the non-existent zipper area, but I could not find that anywhere in the pattern. Hmmmm. I am sure I missed it but I don't know how!

Thursday, April 14, 2011

He is Risen!!!

Happy Easter, everyone! Easter is my favorite holiday of the year. I love thinking about the beauty of Christ's blood on the cross and the might of Christ's power shown by the empty tomb!! Here are my precious babies in their Easter outfits (which they will wear well beyond Easter so I am not even sure why I am saying "Easter outfits").


I have already blogged about sewing their outfits. Here is all the info on:

Tuesday, April 5, 2011

Cute smocks

I made this smock last year for my daughter. The pattern comes from this great book called One Yard Wonders that my mom bought for me. This is a great gift for any person who sews.
It looks so cute on Isabelle.It looks even cuter when her little friend Holland is wearing the matching one I made for her!
A special little girl in my life named Madelyn turned 3 recently and her birthday party was centered around painting and coloring so I decided to make her a smock for her birthday. I looked and looked and looked for the right fabric. Smock fabric should have fun colors or something paint-related on it. I was about to give up when I found this M and M fabric at Hancocks. Hooray!
I was planning on monogramming an "M" on the smock for Madelyn but now I did not have to do that! Instead of the "M", I decided to applique a paint palette. Doesn't it look cute?

One last thing I changed is to make the smock reversible by adding a second layer of fabric (the turquoise). Having two layers of fabric also helps to make sure no paint gets through; one layer is not quite enough unless you use a thick fabric like duck cloth or household decor fabric.